A junction box must protect electrical connections without making installation or service more difficult. TZR manufactures custom metal enclosures from your drawings, CAD files, samples, or specifications.
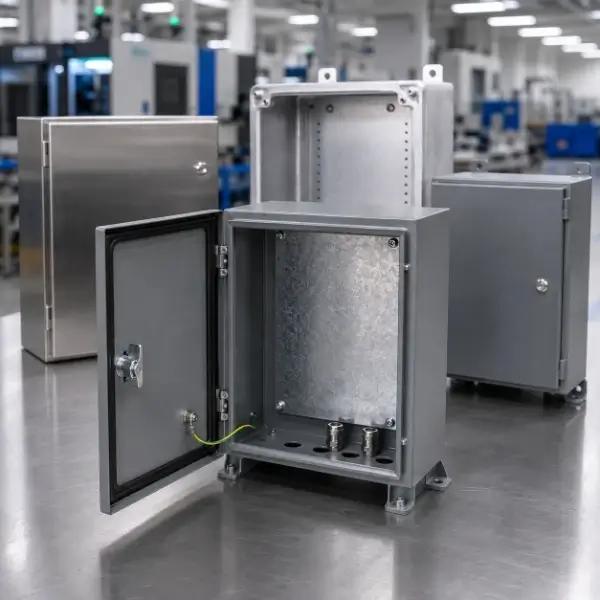
Standard boxes work when size, access, and cable entry are flexible. A custom design becomes useful when the enclosure must fit a limited space, align with an existing frame, or hold specific components.
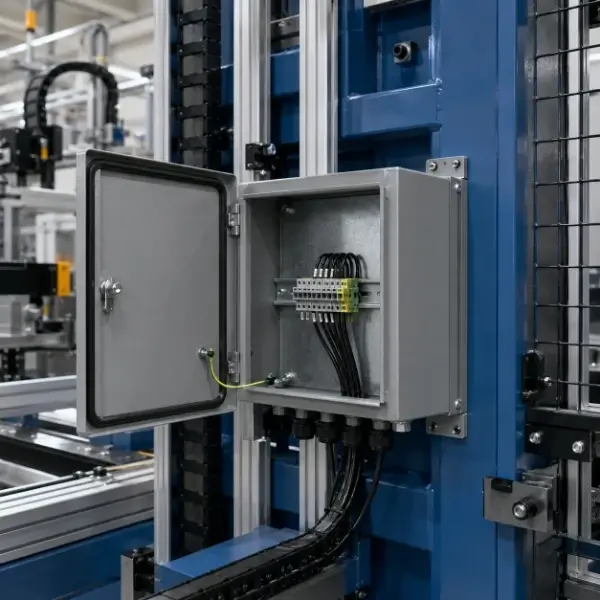
Custom dimensions and mounting features help the enclosure align with the machine frame and surrounding equipment.
Place connector cutouts, cable glands, DIN rails, grounding points, and internal panels around the real assembly.
Receive the agreed openings, brackets, hardware, and finish without modifying a stock box after delivery.
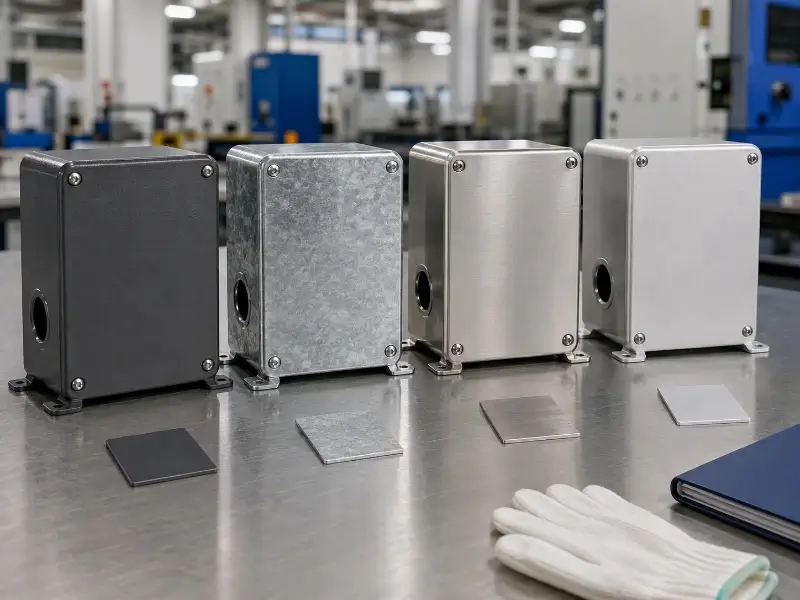
Choose carbon steel, galvanized steel, stainless steel, or aluminum based on exposure, weight, finishing, and cost.
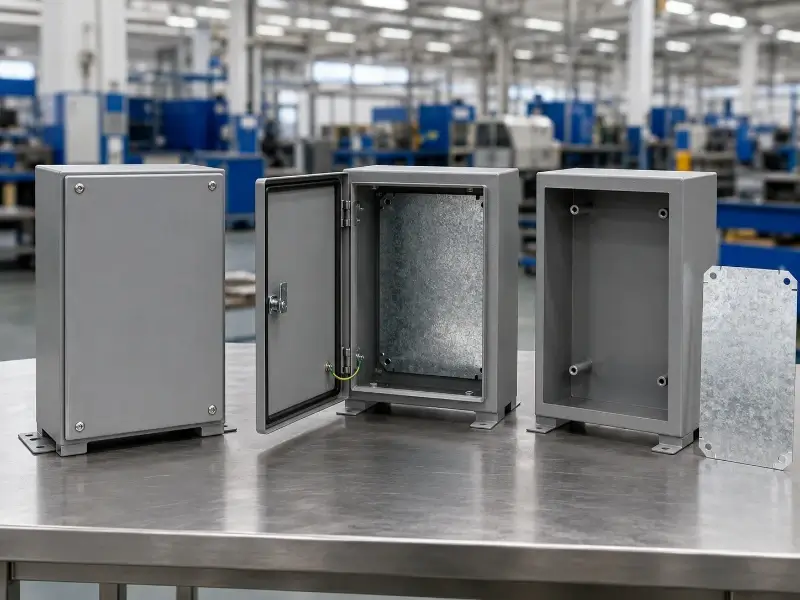
Use a screw-fastened cover, hinged door, or removable mounting plate based on installation and service access.
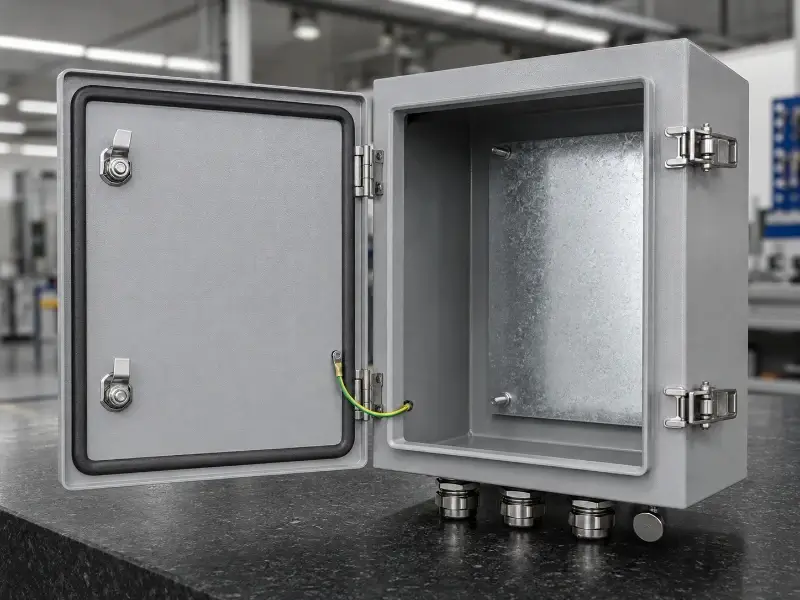
A continuous sealing surface, controlled gasket compression, suitable joints, and sealed cable entries work together.
Specify the target NEMA or IP requirement in your RFQ. Final performance depends on the complete assembly and validation method.
Keeping cutting, bending, welding, hardware installation, finishing, and assembly in one workflow reduces supplier handoffs and helps control revisions.
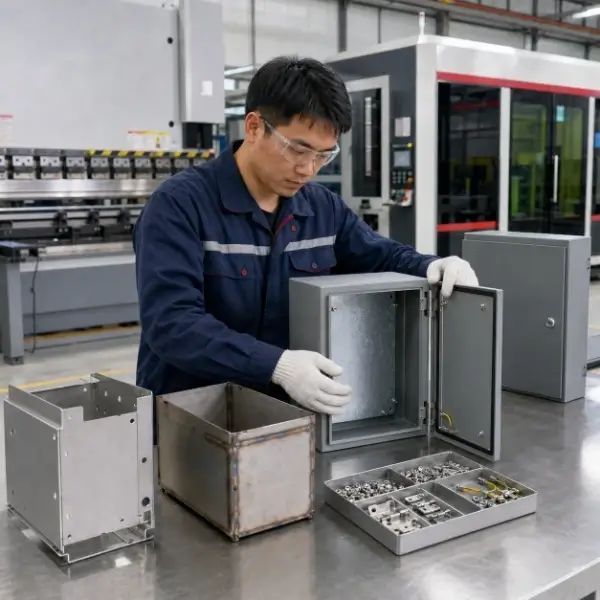
Laser cutting or turret punching creates the profile and openings. Bending forms the body, cover edges, and mounting features.
The welding method and heat input must protect door alignment, cover fit, and flat sealing surfaces.
Add studs, threaded inserts, hinges, latches, brackets, and grounding hardware to the approved drawing.
Apply the selected finish, complete the agreed assembly, and prepare the enclosure for inspection.
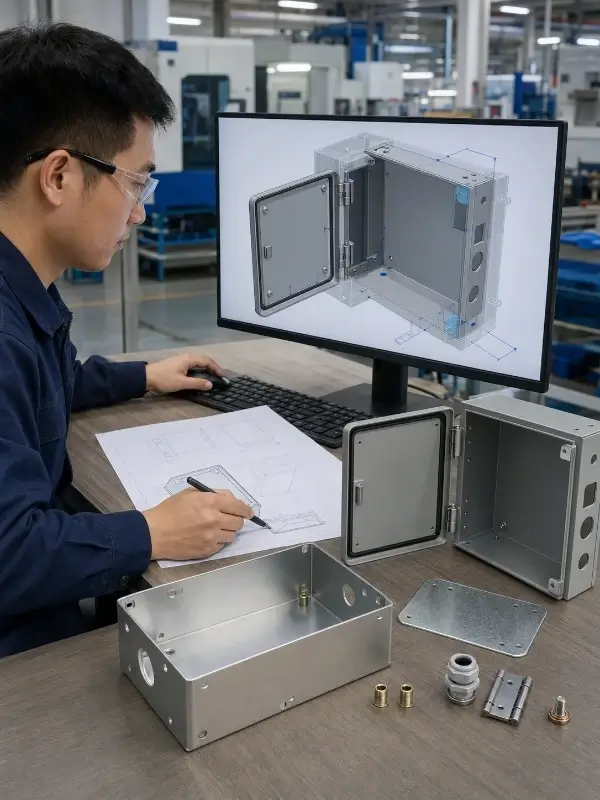
Some details look correct in CAD but are difficult to form, weld, coat, or assemble. A DFM review finds them before production begins.
Review bend radii, reliefs, hole-to-bend distances, corner construction, and critical openings.
Check that installers can reach fasteners, connectors, and cable glands with the required tools.
Mark masked threads, electrical contact areas, sealing faces, and dimensions that apply after finishing.
Use the assembly model to verify mounting patterns, door clearance, cable routing, and fit.
Inspection focuses on the features that affect installation, sealing, appearance, and final assembly.
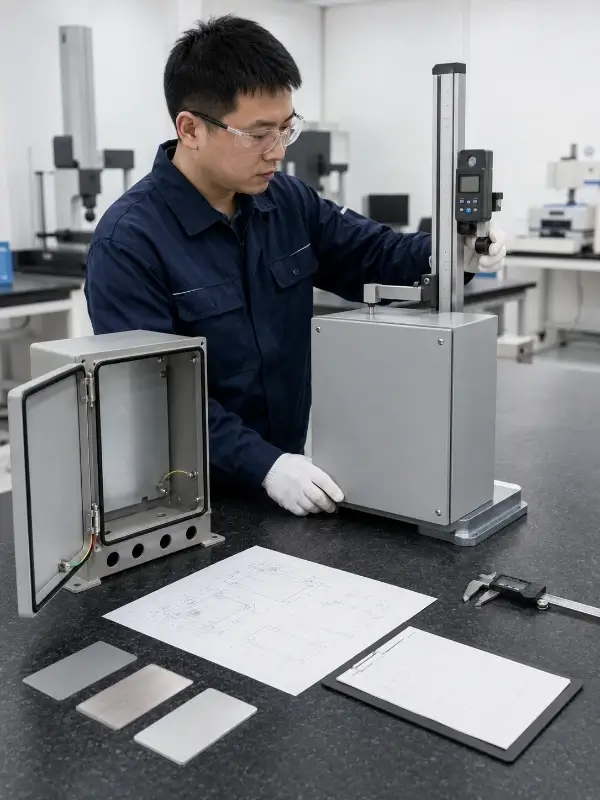
Check mounting patterns, connector locations, cover openings, internal plate positions, and sealing surfaces.
Follow the approved drawing and revision from incoming material through welded and formed features.
Define color, texture, gloss, grain direction, masking, weld cleanup, and visible surfaces.
Agree on material certificates, dimensional reports, and first article records during quotation.
A prototype lets your team check component fit, wiring space, connector positions, cover operation, and appearance before repeat production.
Manufacture the first enclosure from the current drawing and assembly requirements.
Confirm fit, finish, hardware, inspection points, and any required drawing changes.
Use the approved revision, BOM, finish, inspection notes, and packaging instructions.
Custom metal manufacturing experience
Manufacturing facility
Engineering, production, and quality

 English
  Spanish
  German
  Russian
  Italian
  French